Using GitKraken is easy when you are trying to initialize or clone a repository, and in this tutorial, I will show you how easy it is. ⤵️
If you haven't downloaded the GitKraken client, you can use my referral code.
Let's get started. If you are new to GitKraken, follow these steps, and you'll have your repo cloned on your computer or create a new one and hosted on GitHub. 💡
Clone a repository
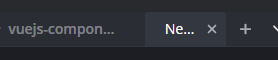
The first thing we need before cloning a project is an existing project on Github, so if we already have one that we want to clone, press the "New Tab" button. 🤩
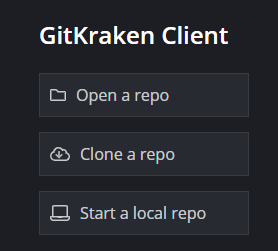
After clicking the "New tab" button, a new screen will appear, and on the left, you'll see a headline "GitKraken Client" and three buttons with different options. We need the "Clone a repo" option so that we will click it.
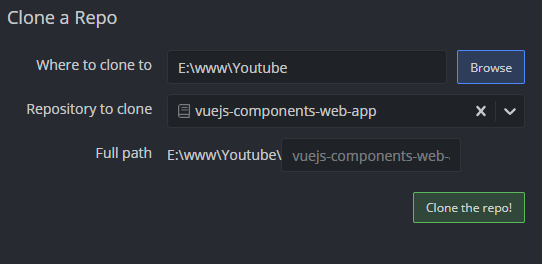
In this tutorial, we'll use GitHub as the git provider, so we click on "GitHub.com," and two inputs will appear on the right side of the modal. In these inputs, we need to select the folder where we want to clone the repository and choose the repo of your GitHub account. After clicking on clone a repo, a modal like this will pop up. 👇
It's a requisite to have your GitHub account linked. If you don't have your account linked yet, a green button to connect your profile will appear. Just click on it, sign in and go back to GitKraken. 🦑
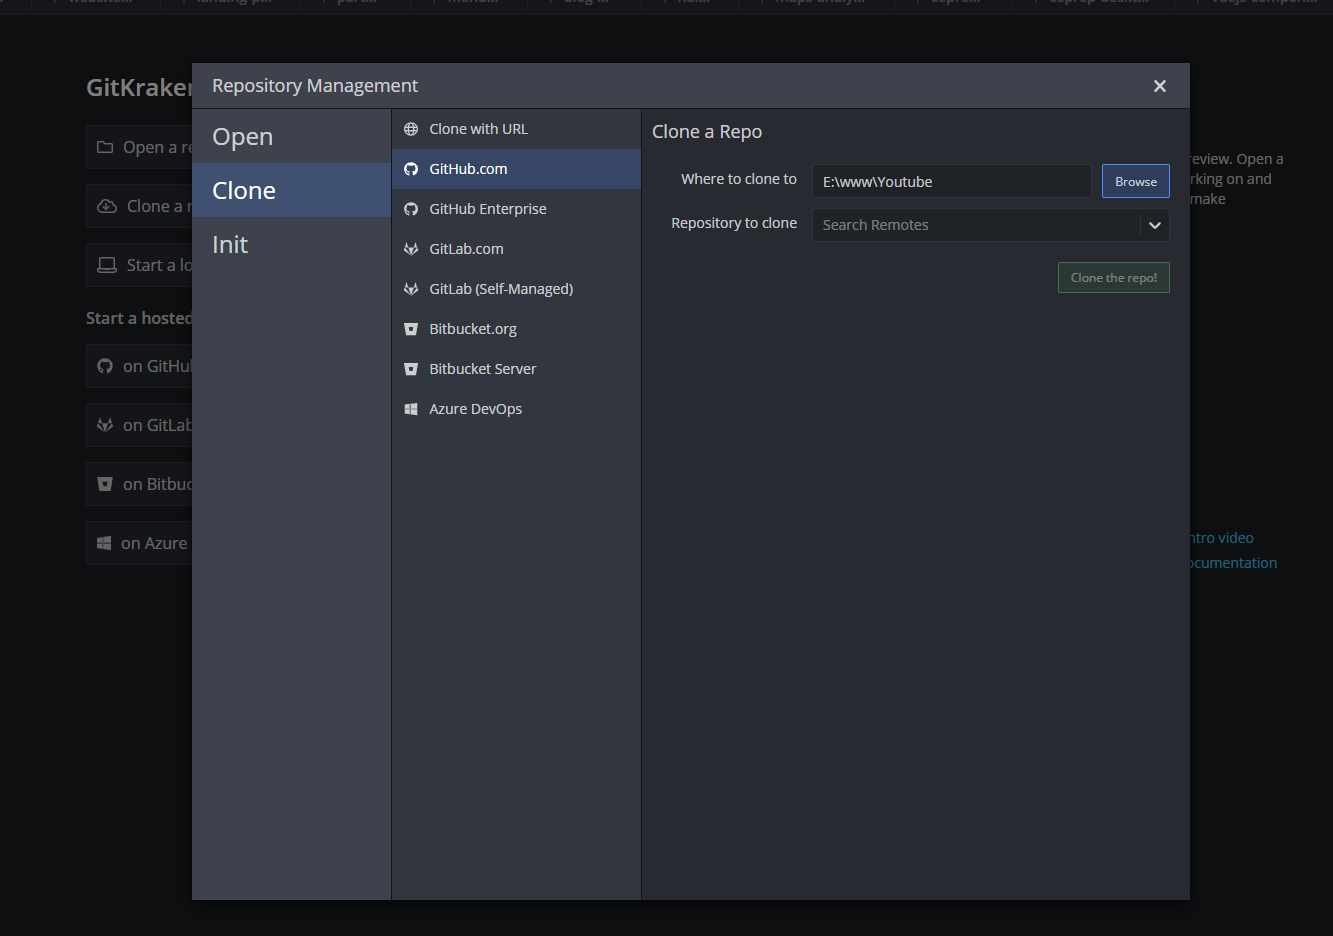
We need to select the folders and our repository from our account. After filling these fields, click on "Clone the repo!" It will clone and open on a new tab.
Initialize a repository
Initialize a new project. It's almost the same as cloning a repo. Follow the first two steps from the clone action, but in the third step, instead of "Clone," click on "Init," and you'll see the modal with these input fields.
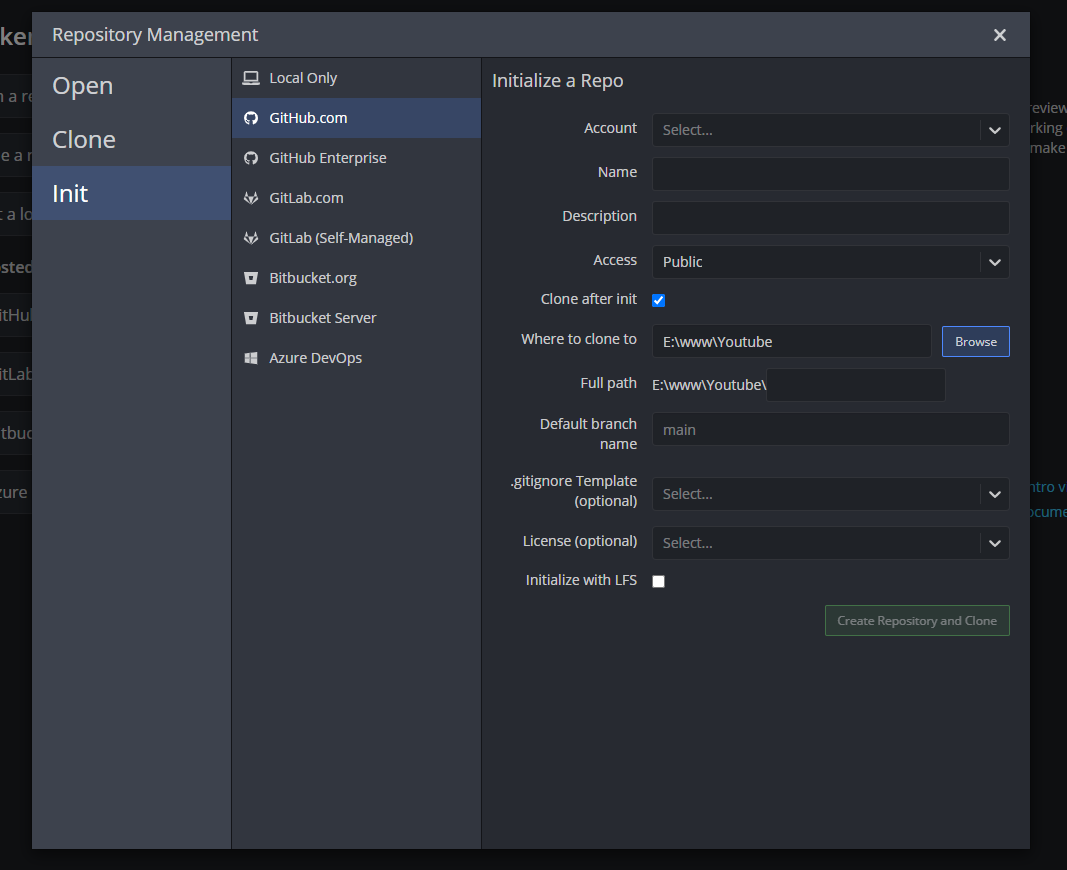
There are a few more inputs than the clone action, but here you need to select your account or an organization repo, give a name, description to the repo, make it public or private, and the folder where to clone it. The last four fields are optional, and it's unnecessary to fill them. So feel free to replenish what you want.
Done ✅
And that's a wrap! After following this tutorial, you'll be able to initialize and clone repositories from your GitHub account or Organization.
Thanks for reading this tutorial! And see you on the new one. 🚀
If you have any questions, don't doubt to send me Twitter DM @giangzadev